
Leaning forward from my last post about lessons learned, I am putting a plan together to help me hit a stretch goal of consistency. While this may seem obvious, I am pretty serious about eliminating “possibly” problematic issues, and striking highly consistent and predictable brewing. So here are my “Keys to Consistency.”
Key #1: Eliminate the unpredictable
Let’s kick off with the most obvious issue: unpredictability. Since I am human, my ability to repeat a task is based on practice and muscle/brain memory. The easiest concept here is shuffling off tasks like timing and milling to a machine.
My mill is a Monster Mill MM3-Pro, direct driven by an All American Ale Works 180 RPM mill motor, connected via Lovejoy shaft couplers. This thing is a beast. However, I have been mucking around with the gap settings as I started to condition my malt. Conditioning allows for increased whole husk retention and better lautering.
I tried to reduce my gap sizes to increase mash efficiency (without any good reason). Somewhere along the way, my mash efficiency dropped dramatically. So I need to do some bench trials and find the right mill setting. Going lighter with the conditioning water (1% by weight, rather than 2%) should allow me to have a fairly coarse crush.

Revisit mashing schedules and programmed presets. I utilize the recipe function on the Brew-Magic to pre-program my favorite mash profiles. I noticed with my last brew that I had made some changes along the way and managed to save these over the old profile. The result is that the times and temperatures no longer match my BeerSmith profiles. This should be SET AND FORGET with the Brew-Magic.

Establish a protocol checklist for various measurements, including mash pH, DO, and gravity. With a written protocol, the measurements have more direct relevant meanings. This should also allow me to reduce the number of measurements, and integrate naturally into the brew day.
Most important, be MENTALLY present during the brew day and take sharp observations. Use your senses and get the rhythms down. The sounds of pumps and burners will shift if something changes. Watch for possible dangers.
Key #2: Maintenance and Calibration
I have spent more money than I care to know on meters and other measurement devices, not to mention my systems. Let’s start with the obvious.
Get an accurately graduated pitcher: Bonus if it is marked in Liters and Quarts. Check it by using weight to confirm it is accurate. My new pitcher is marked appropriately, and when tared weighs 1 gallon of water exactly 8.36 pounds on my postal scale. I use this occasionally to calculate any changes to dead space or losses in my system and then adjust my equipment profiles in BeerSmith.
Get accurate scales. I use a digital postal scale to weigh malts and a jeweler’s milligram weight scale for hops and mineral additions. Make sure to check both for accuracy across a range of known weights, and confirm the manufacturing claims and tolerances. You can buy small reference weights cheaply at Amazon for the milligram scale. In this case, you will be able to replicate a previous brew recipe with precision and confidence.

Buy quality hydrometers and thermometers. I have the philosophy of buying the best possible equipment I can afford. Hydrometers are cheap, as are thermometers, but you get what you pay for. Look at NIST certification on a thermometer, which will push you into the $50+ range. Accept accuracy over speed.
My original hydrometer from 6 years ago apparently slipped the registration scale paper, so I now have a set of hydrometers for high gravity, mid gravity, and finish gravity. Sacrifice a little DME and make solutions in the general gravity range of your beers and test them. I absolutely love my finish gravity hydrometer. And treat them very gently… no dropping them into a dry test jar and handle by the bulb, not the stem.

A digital meter is a commitment. That means making regularly scheduled maintenance and calibration, as well as proper storage. Make sure your meters are in working order and stable. Stability is as critical as accuracy, meaning that the meter won’t drift out of calibration during a brew day.
Establish a measurement protocol and write it down. Take a sample, always chill it, check the pH or DO or TDS, then rinse in cold RO/DI water and store. Always calibrate before the brew day. Always decant the calibration solution into a cup, never stick a meter in the whole bottle, and dispose of the solution after.
Meters in wort will invariably get some contaminant, don’t propagate it into your calibration solutions. Check your batteries. Change storage solution regularly, and if you see bacterial growth in the storage solution, get some probe cleaner. Replace old calibration solutions.
Key #3: Note Taking
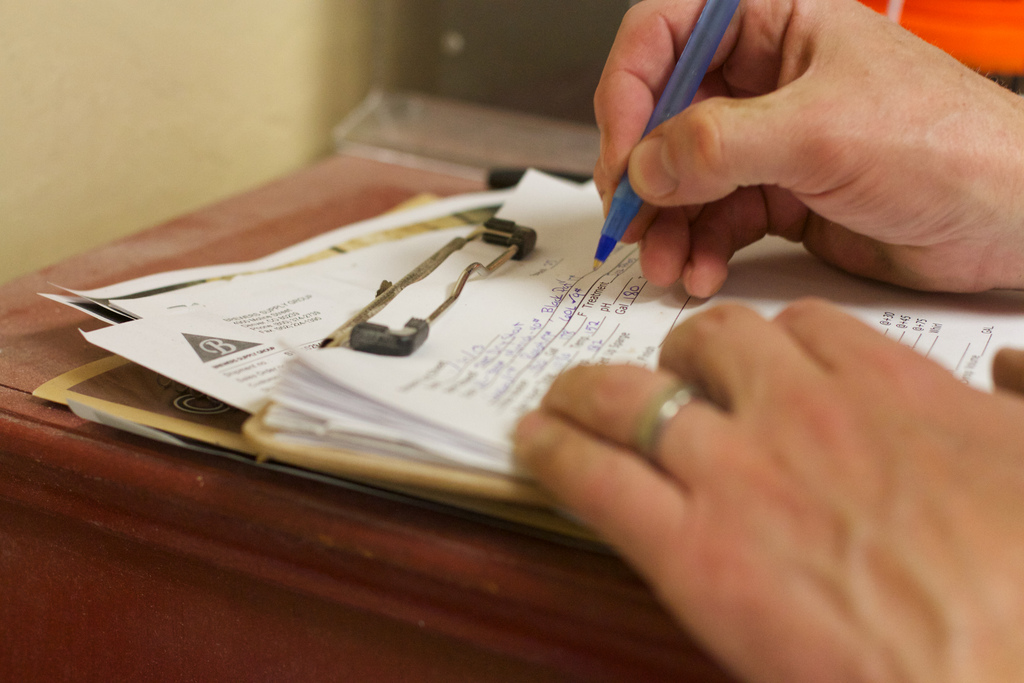
Consistency means DOING things the same way in a predictable manner. However, things change and bad habits form. Documenting the same information each time we brew will provide some data to look at. My friend over at ericbrews.com has a really nice brew day sheet that I plan to use.

As you can see, the brew sheet has detailed areas to gather information. Importantly, it also has a place to note deviations from your expectations. A record of these brew sheets will allow you to look back over the past and make an evaluation. Look for your weak spots and put a plan in place to address them.
Be diligent. I have started and stopped taking really great notes several times. I get lazy, or distracted, and fail to gather up my notes. This is my stretch goal. I plan to setup my calendar such to remind me to copy over my notes into BeerSmith, as well as copy over a clean manual copy for my records. This way, I have two records.
I also find it educational to do the calculations manually. This is helpful for a number of reasons. Understanding the differences between mash efficiency and brewhouse efficiency, or being able to estimate OG manually, helps me to disconnect from BeerSmith more often.
Key #4: Practice & Brew
I like to brew often and iterate recipes with minor tweaks. The more often you brew, the more good technique becomes muscle and brain memory. If you do the math, brewing once a month gets you 12 in a year. Double that to twice a month, and you double your ability to get deep into how your system performs, and more importantly, how consistently you can hit your desired numbers. 24 brews in a year is a great dataset to determine how well you are doing. Give yourself permission to make a mediocre beer if testing recipes or yeast strains.

Stay focused and minimize distractions during the brew day. This can be impossible for many people, but it’s how I love to brew. I also love having friends to brew with, but will likely schedule a ‘sloppy’ brew day just for fun, rather than focus so intently. If there is something that consistently distracts you, plan for it.
Commit to minimizing system changes. Anything, from changing your mill settings, to adding a pump, can create discontinuity. Make a huge note on your brew sheet the milestone changes. It is always a great idea to just run with water first, and work out any possible issues (leaks, valve configuration, etc.) before committing to the expense of ingredients. These are opportunities to do a deep clean. If you do make a system change, plan for the possibly unpredictable results.
Commit to a specific mash schedule and repeat it over and over. Step mashing or infusion mashing requires close attention to temperatures and volumes. Understand the time commitments and make sure to evaluate batches side by side if possible. If you make changes, note them. Don’t expect to have your first decoction/step mash/reiterated mash or whatever to go right the first time out – so set expectations appropriately. Regardless, relax a little and enjoy the process.
Example: I replaced my copper CFC with a stainless CFC in-line with my whirlpool. This allows the boiling wort to sanitize the CFC before I turn on the chilling water. Then using a timer, I have been measuring the chill time using tap water and comparing the tap water temps to the temperature of the 11 gallons in the kettle.
My biggest issue is that my tap water is typically very warm and the temperatures variable. I have been experimenting with 15 gallons of ice water pumped through the CFC to knock off the last few degrees, with the goal of being able to reach pitching temperatures. I need an inline thermometer to check the wort temps coming out of the chiller to optimize flow rates. Of course, remember wort has more mass than water, so it will take a little longer to chill than just tap water. Wort will always behave differently.
Key #5: Clean and Sanitize after brewing
Fortunately, I am fairly OCD about cleaning and sanitation. Given the complexity of my system, I NEED to be sure everything is clean and anything south of the hot side is pristinely clean and sanitary. This is difficult in a garage. Cleaning and sanitation are preventative and protective of your investments.
Keep your kegs and bottles absolutely clean. I like to clean my kegs and fill with StarSan. I then push all that out with CO2 at 5 PSI or so into another clean keg. This gives me properly purged kegs with sealed lids under pressure, ready to receive beer, a little foil over the disconnects keeps the dust away. Bottles get cleaned and sanitized and stored with a little foil, and upside down in the original box. Again, ready for use, and just a little rinse on the outside to deal with any dust. Cleaned cases of bottles or kegs are labeled, so I know what I am grabbing.
Conclusion
The engineer in me really likes this as a plan to check my skills and equipment. The creative side says, meh, just make beer. It is always a dance in my head between the goal-oriented OCD brewer and the lazier guy.
At the end of the day, the goal is what is important. Keeping those goals in mind, and rewarding yourself for success, help keep your momentum moving forward.


Key #2: Maintenance and Calibration
This is something I think even seasoned brewers can easily miss, as I like to say: “you’re only as good as your measurements.” I frequently like to have two points of measurement for significant measurements, one fast/easy to read kinda course one to make sure I’m in the right ballpark, and one very precise/accurate tool I can bust out if I think something’s off (e.g. refractometer vs hydrometer).
Generally speaking I do all of my calculations ahead of time and know my system well enough that if my measurements don’t line up to my calculations I know something more fundamental is off.